Breaded Schnitzels with Celery Puree and Capers

Last night we had these delicious breaded ham schnitzels with buttered capers and celery puree. Traditionally, schnitzels is made from veal, but we often use ham instead as it is cheaper (and we almost always have ham in freezer )! Another tradition when serving schnitzels is butters peas, french fries, capers and anchovies, but we wanted to try something new and with celeriac growing in the garden it was a obvious choice.
If you are not a huge fan of lemon thyme, you can of cause replace it with regular thyme, some other herb of your own choice – or you can just leave out the herbs and serve a plain celery puree.

To decide whether to use the apples or not, we made a portion with and a portion without. The portion without was great – the soft celery puree, the crisp schnitzel and the salty capers, while the portion with apples was absolutely fabulous!! The apples added the sourness so it ended up containing four tasting notes which, in combination, can end up as the perfect meal 🙂

Hope that you will enjoy making and serving this recipe for your friends and family.


Ingredients (4 servings)

Schnitzels

4 ham schnitzels

2 tbsp. flour

1 egg, lightly beaten

1 cup bread crumbs

Salt

Pepper

2 tbsp. butter


Celery Puree

1 large celeriac

4 cups whole milk

1 tbsp. fresh lemon thyme leaves

Salt

Pepper


Garnish

10 slices bacon, fried and crumbled

2 tbsp. capers

1 large apple, diced


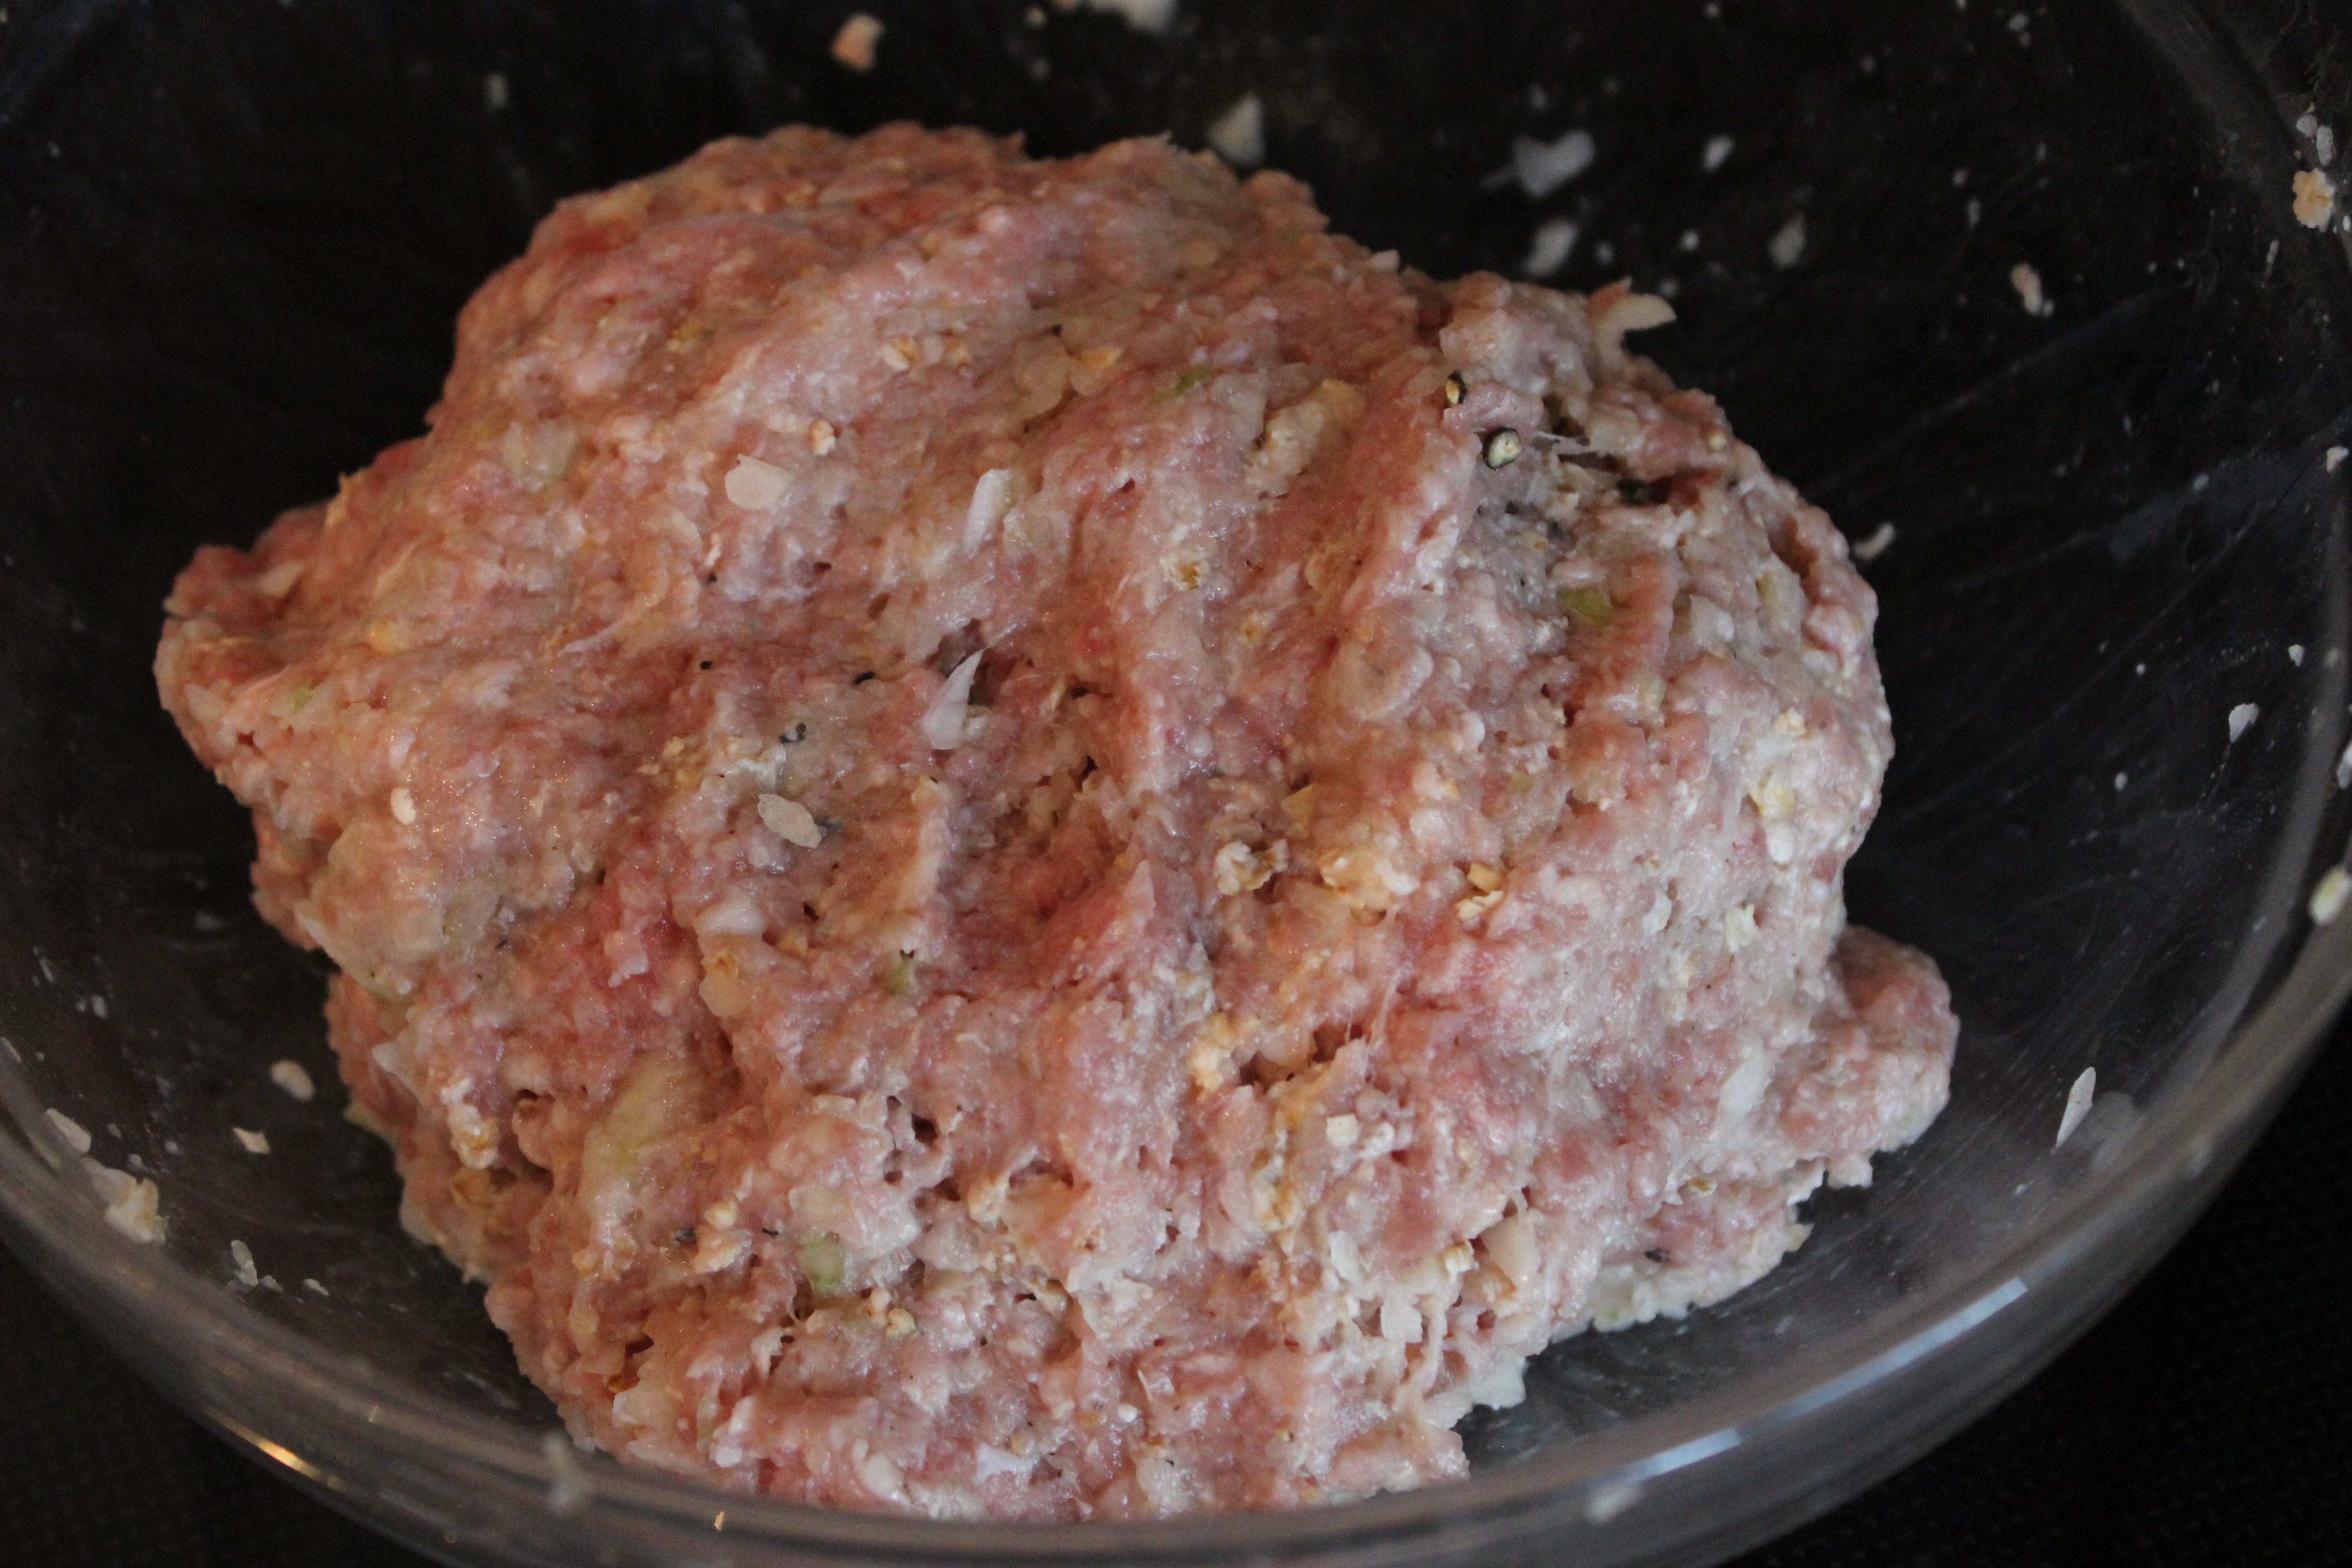
Season the schnitzels with salt and pepper and turn them in flour followed by the beaten eggs and the bread crumbs. Leave in the fridge to rest while you make the celery puree.

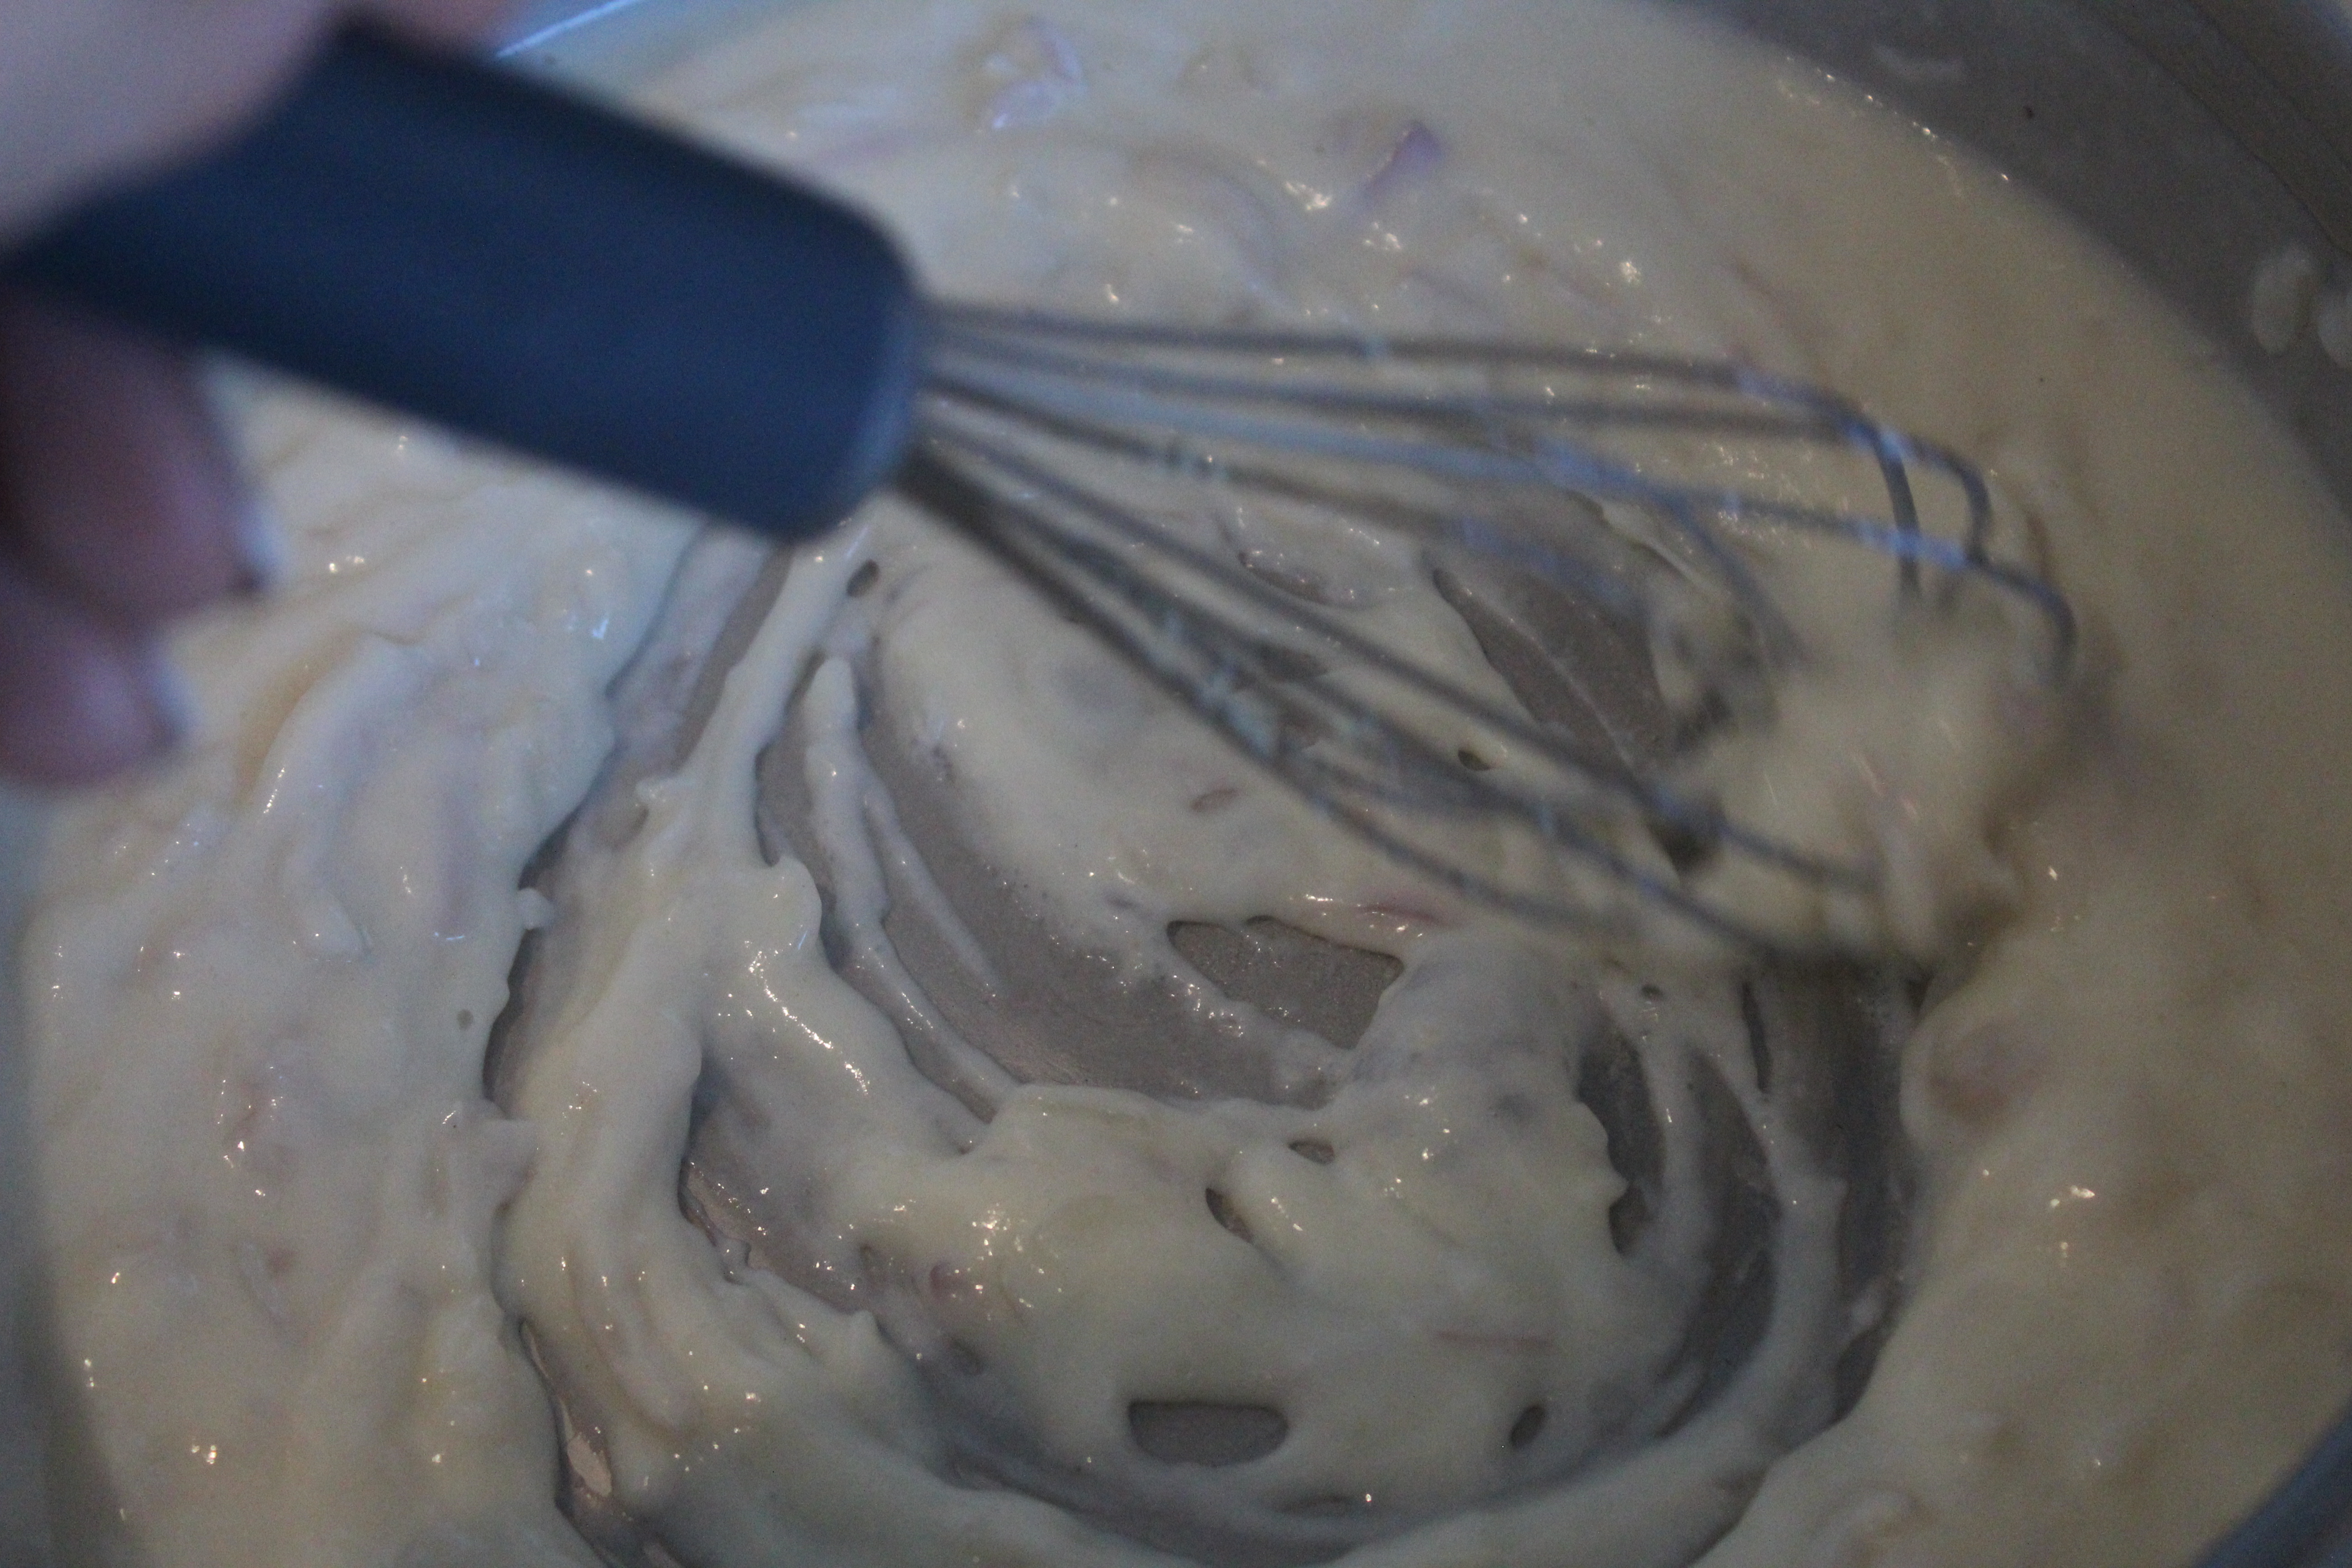
Peel the celeriac and cut it into 1-inch cubes. Place in a sauce pan together with the milk and bring to a boil. Be very carefully when you boil milk. Turn down the head as soon as it begins to boil and let cook for 20-25 minutes or until you can mash a cube with a fork. Separate the milk from the celeriac and place celeriac and thyme leaves in a blender and add tablespoons of milk the milk while blending, until you reach the wanted consistency. Season with salt and pepper and let rest while you fry the schnitzels.

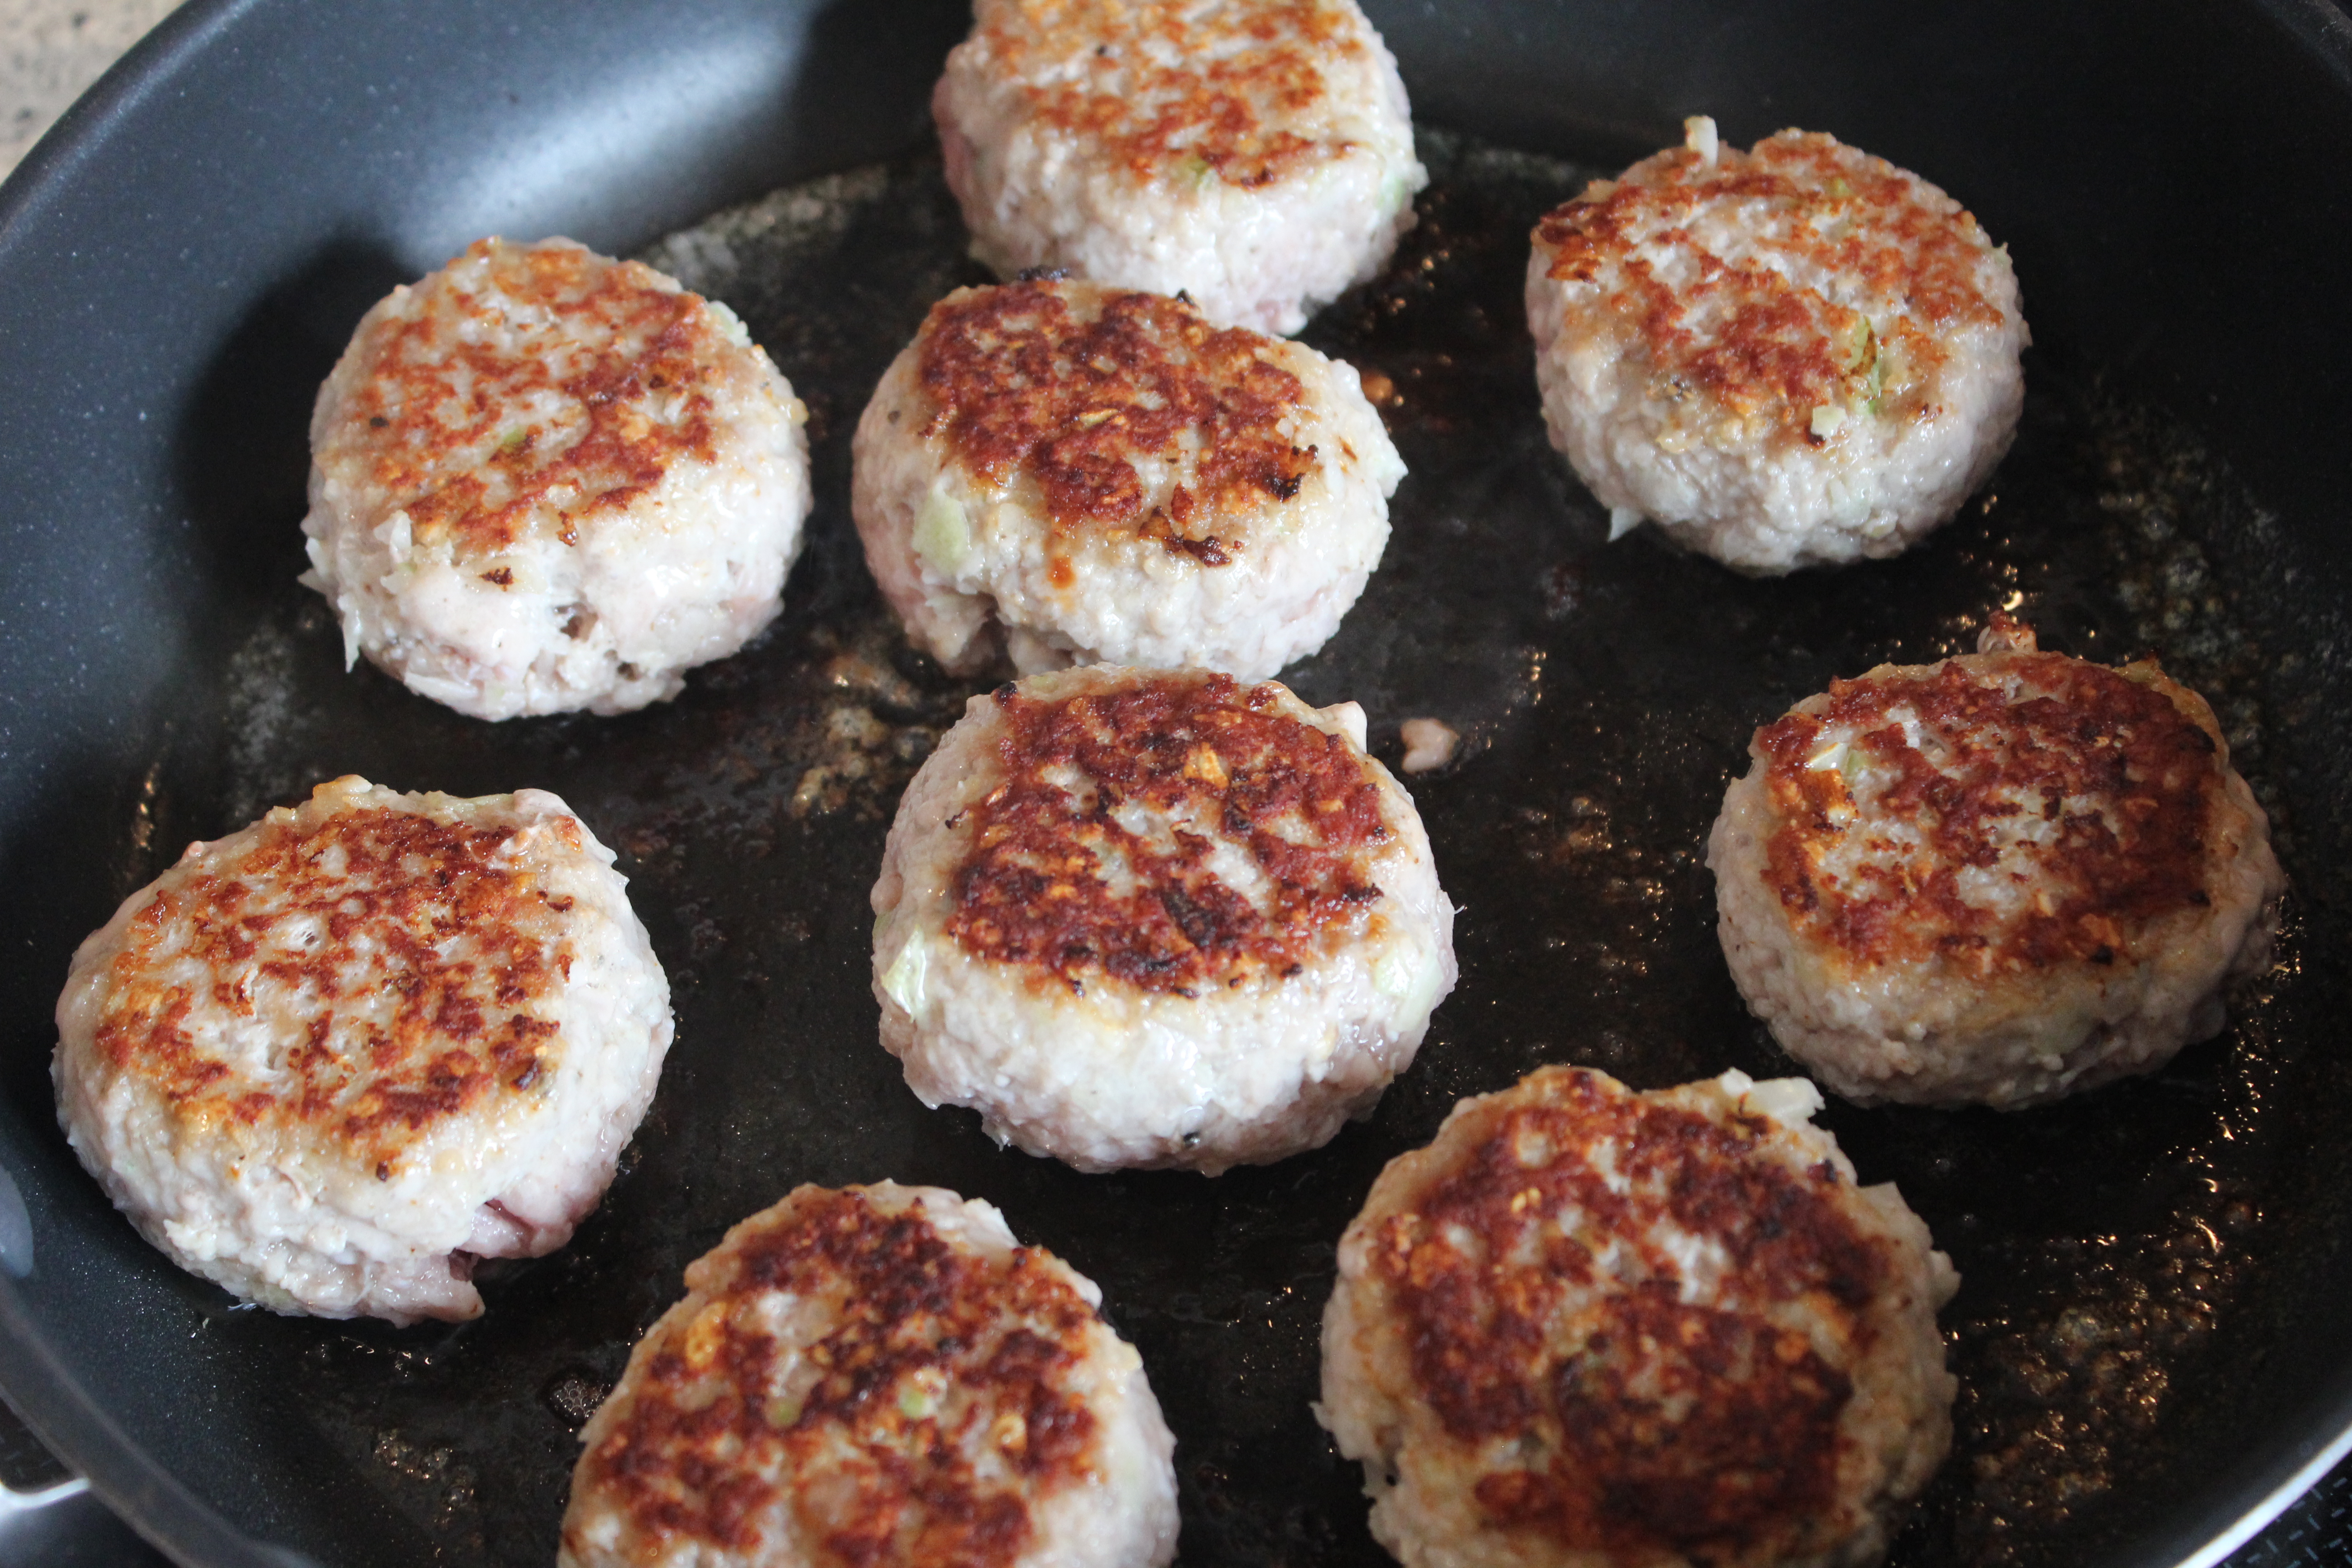
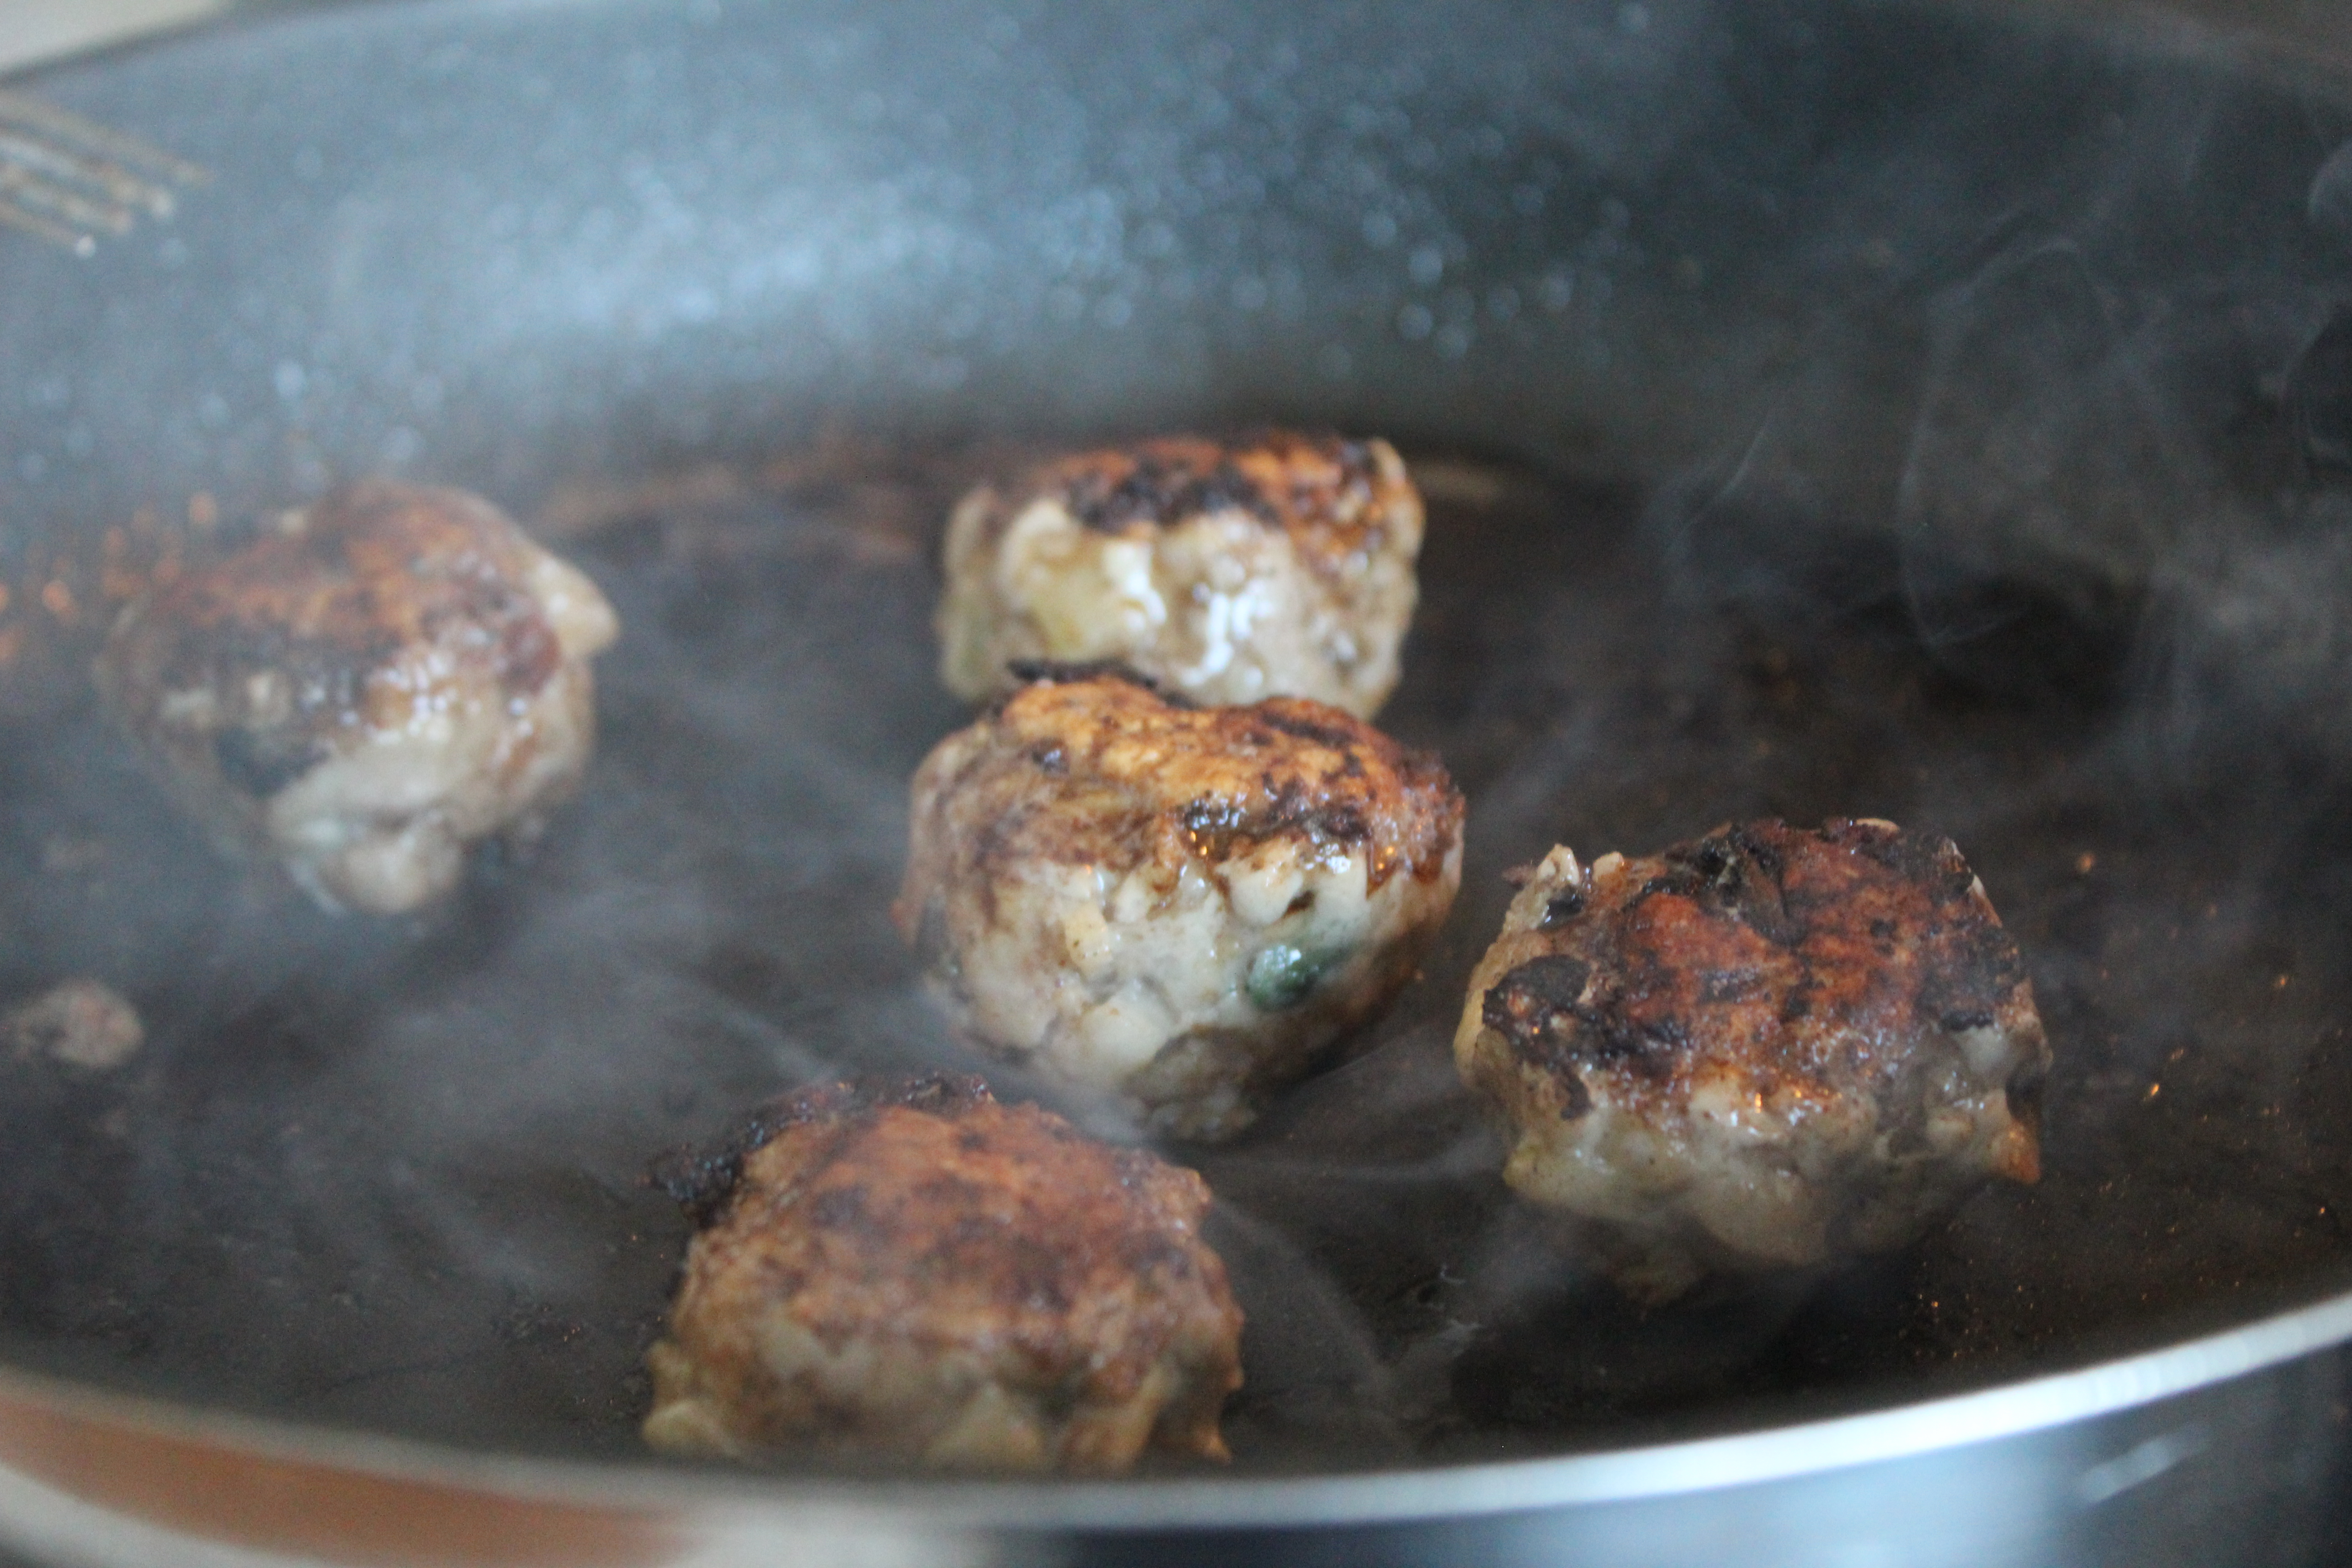
Melt 1/2 tbsp. butter at medium heat and fry two of the schnitzels for 3-4 minutes on each side. Add another 1/2 tbsp. butter when you turn the schnitzels. Do the same with the two remaining schnitzels. Toss the capers in the remaining butter from the schnitzels.

Serve the schnitzels on top of the celery puree and garnish with the buttered capers, crumbled bacon and diced apples.
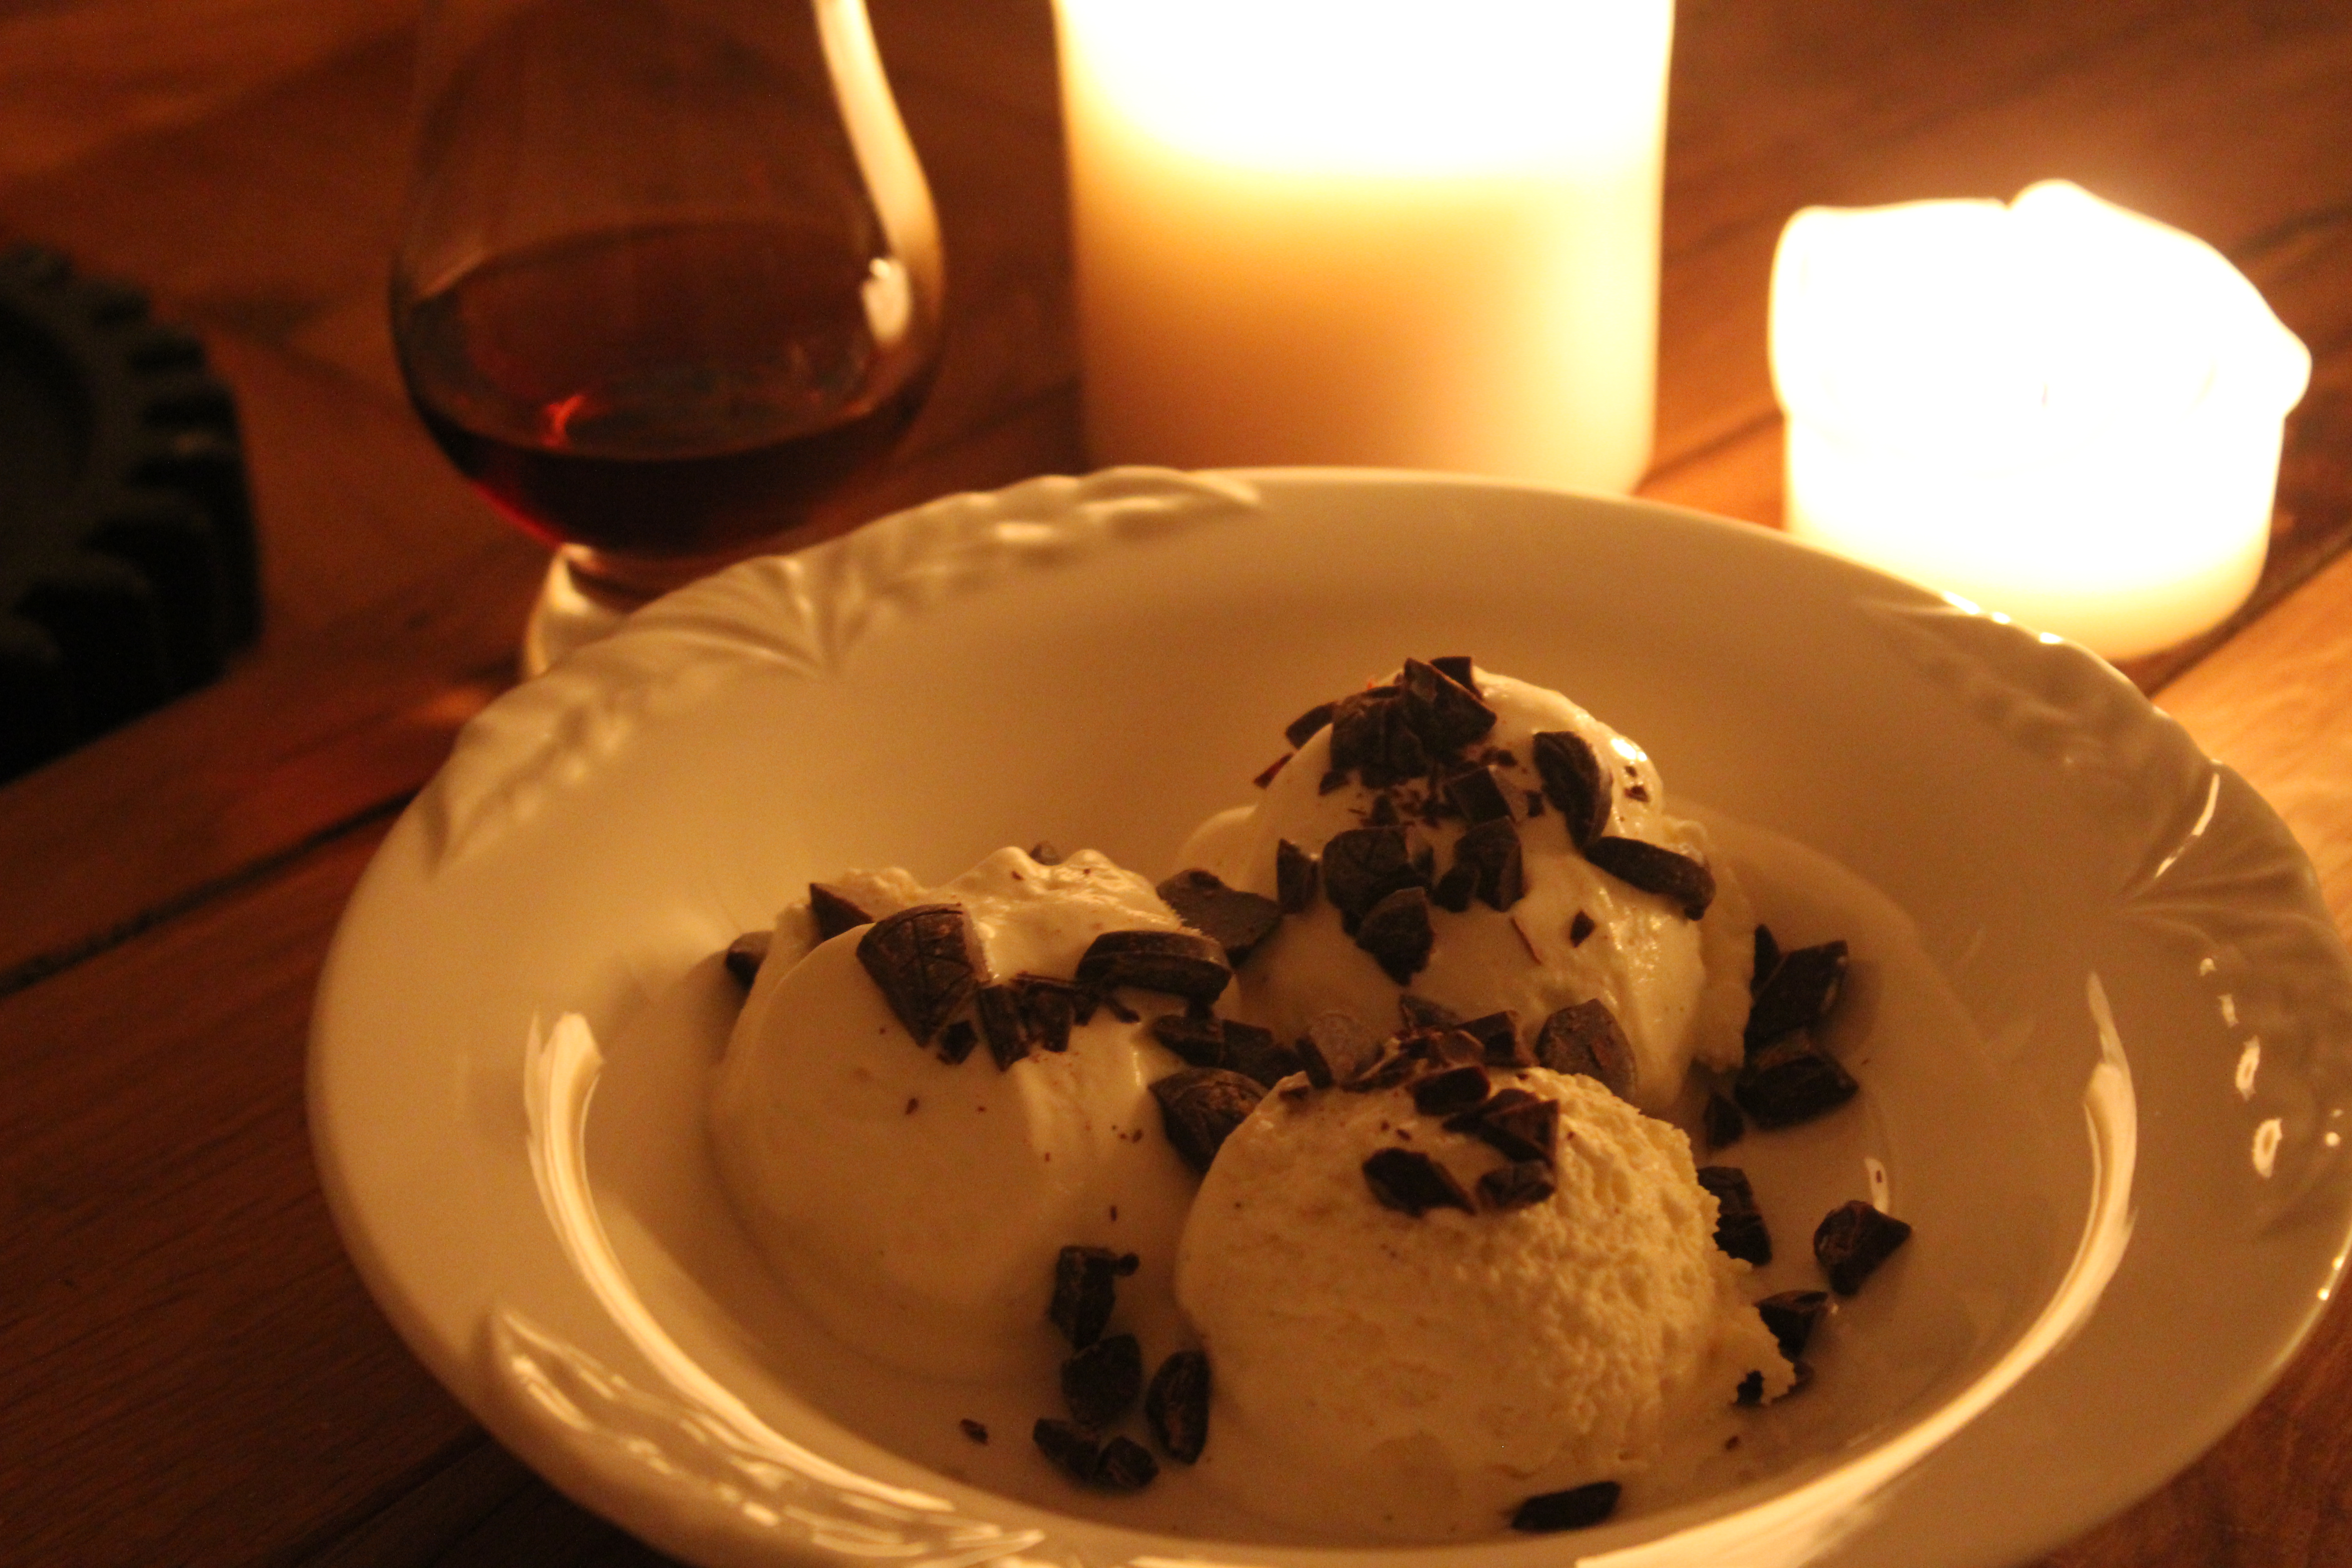
IMG_1576

Bon Appétit!


Ingredients (4 servings)

Schnitzels

4 ham schnitzels

2 tbsp. flour

1 egg, lightly beaten

2.5 dl bread crumbs

Salt

Pepper

30 g butter


Celery Puree

1 large celeriac

1 liter whole milk

1 tbsp. fresh lemon thyme leaves

Salt

Pepper


Garnish

10 slices bacon, fried and crumbled

5 g butter

2 tbsp. capers

1 large apple

Raspberry Yoghurt Ice Cream

Almost everyone we know LOVES ice cream and could eat it every day if possible 🙂 But we also know that most ice creams contain a large amount of fat which we try to avoid in our everyday cooking.

Instead of dropping the everyday ice cream, you can choose a variation which is both tasty and much less fatty: yoghurt ice cream. The yoghurt chosen for this ice cream contains 0.5% fat but many recipes use Greek Yoghurt with 2-10% fat, so the choice of yoghurt is only a matter of taste. I used a low fat variation, as it is the yoghurt I eat for breakfast every day and had some leftovers.

The raspberries are from our own garden and has a fabulous combination of both sweets and sour flavours. I only use the raspberry juice, as I hate getting the small cores between my teeth, but once again it is a matter of taste!

Hope that you will find this ice cream as delicious as we do 🙂

Ingredients (4 servings)

2 cups raspberries

1 1/3 cup yoghurt, natural

4 egg yolks

1/2 cup sugar

1/5 cup water

Blend the berries and strain the juice through a strainer. Fold the juice into the yoghurt and set a side while preparing the rest.

Place water and sugar in a sauce pan bring to a boil. Let boil for 2-3 minutes, stirring occasionally.

Whisk the egg yolks together. Slowly pour the hot sugar mixture into the egg yolks under intense whisking and keep whisking until the mixture is thick and light yellow (like eggnog).

Pour the mixture into the yoghurt and stir until combined. Pour into your ice cream maker and let run for 40-45 minutes. Transfer the ice cream to an airtight container and freeze for at least 1 hour before serving.

Serve for brunch with honey roasted nuts and fresh berries or for dessert after a heavy dinner.

IMG_1573

Bon Appétit!

Ingredients (4 servings)

250 g raspberries

3 dl yougurt, natural

4 egg yolks

120 g sugar

0.5 dl water

Cuban Rum Ice Cream

We have wanted an ice cream maker for years, but Chris has been reluctant to let me as he claimed that he was not a huge fan of ice cream (the reason is that he is cheap 😉 ) Then one day I decided that now was the time to buy one and take the consequence if he god mad (I served the first ice cream and waited for his opinion before telling him that I had bought it, and he loved it)! So I began to search the web to find out which model to choose and on top of the wishlist was a Gelatissimo Exclusive but it is quite expensive and as we are planning some life changing events which quite certainly will be very expensive, I decided to choose an cheaper model.

We have had a Kitchen Aid stand mixer for several year and we use it almost every day – couldn’t live without it! Searching the web for reviews of Kitchen Aids ice cream maker I found mixed opinions but an old colleague of mine have spoken very well about, and I therefore chose to buy it and test it for myself (the price was of cause a huge part of the decision). This Cuban rum ice cream is my third ice cream and I must admit that I am very happy with the result and feel that Kitchen Aids ice cream maker is very good taking the price into consideration.

IMG_1568

Ingredients (6 servings)

2 cups cream

2/5 cup whole milk

2/3 cup condensed milk

2 vanille pods, seeds

4 tbsp. Cuban Rum


Dark Quality Chocolate for topping


Whip the cream until light and fluffy. Add the remaining ingredients and and whisk to combine. Pour into your ice cream maker and let it run for approximately 20 minutes or until it tells you that the ice cream is finished. Serve immediately if you want a soft ice cream or transfer to an airtight container and freeze. We always freeze the ice cream for 2-4 hours before serving as we like the consistency to more firm than soft ice, but it is a only a matter of taste 🙂

Serve after a good dinner with a glass of rum 🙂

IMG_1570Bon Appétit!

Ingredients (6 servings)

5 dl cream

1 dl whole milk

200 g condensed milk

2 vanilla pods, seeds

4 tbsp. Cuban Rum

Orange Cake with Chocolate chips and Orange Cream Cheese Frosting

This was my first ever orange cake, and I must admit that i am quite proud of myself. It looks good and tastes delicious – what more can one demand?


Ingredients (10 servings)

1 stick butter, room temperature

1/2 cup granulated sugar

3 large eggs, room temperature

1 1/4 cup flour

1 tbsp. vanilla extract

1 1/2 tbs. baking powder

1/4 tbs. salt

1/2 cup orange juice, fresh-squeezed

2 tbsp. orange zest

1/3 cup dark chocolate chips (I prefer to use Amedei Toscano Black 70%)

Orange Cream Cheese Frosting

7 oz. cream cheese, room temperature

1 cup confectioners sugar

2 tbsp. orange zest


In one bowl whisk together flour, salt and baking powder.

In another bowl whisk together butter and sugar until light and fluffy with an electric mixer, then add one egg at a time and whisk thoroughly between each egg. Now add vanilla extract and whisk again.

Shift in flour mixture i two batches, alternating with orange juice. Whisk until just combined and smooth. Fold in orange zest and chocolate chips (if your chocolate chips are big, you might want to chop then into smaller pieces).

Add half of the batter into a 6 inch greased springform pan and bake at 350 degrees fahrenheit for about 20-23 minutes or until a toothpick comes out clean. Let rest on a wire rack for 10 minutes before removing the cake from the springform. Do the same with the other half of the batter. Let both cakes cool completely.

When the two cakes are cooled down, whisk together cream cheese and half of the confectioners sugar. Then add one tbsp. sugar at a time until the frosting has the right texture. Whisk till the frosting is smooth and fluffy. Fold in 2/3 of the orange zest.

Add one forth of the frosting on top of one of the cakes, and spread it around and make sure that you get all the way to the cake edge. Take the other cake at put on top of the first one. Cover the whole cake with the rest of the cream cheese frosting and sprinkle the last 1/4 tbsp. orange zest on top.


Ingredients (10 servings)

113 g butter, room temperature

112 g granulated sugar

3 large eggs, room temperature

155 flour

1 tbsp. vanilla extract

1 1/2 tbs. baking powder

1/4 tbs. salt

1.25 dl orange juice, fresh-squeezed

2 tbsp. orange zest

50 g dark chocolate chips (I prefer to use Amedei Toscano Black 70%)


Orange Cream Cheese Frosting

200 g cream cheese, room temperature

2.5 dl confectioners sugar

2 tbsp. orange zest


Meatballs and Stewed cabbage – renewal of an old Danish classic

Meatballs and stewed cabbage is an old classic in the Danish kitchen, but many young people finds it boring, tasteless and totally overcooked!

We believe that everything can taste good, as long as it has been cooked be love and sometimes a good portion of patience 😉 So a few days ago we invited my parents over for dinner and decided to renew the old classic which was a regular dish during my childhood winters. I was quite excited to hear my parents opinions as it matters a lot, so I must admit that I was a bit nervous. However, the nervousness was completely pointless as they LOVED it and almost licked the plates – Chris loved it too, and he is normally NOT a fan of traditionally Danish food 🙂


Ingredients (4 servings)

Meatballs:

1/2 lb. minced pork

1/2 lb. minced veal

1 large onion, minced

1 egg

3 tbsp. oatmeal

1/4 cup milk

Salt & pepper

2 tbsp. butter


Stewed Cabbage:

1/2 cabbage, thinly sliced

2-3 shallots, sliced

1 cup corn

2 tbsp. butter

2 tbsp. flour

3 cups milk

3 tbsp. chives, chopped

Salt & pepper


Instructions

Meatballs:

Combine all ingredients for the meatballs in a bowl and use your fingers to mix it together. Cover with plastic foil when combined and let rest in the fridge for at least 30 minutes, preferably 1-2 hours.

IMG_1427

IMG_1428

Divide the meat into 16 equally sized pieces and form as small balls. Melt half of the butter at medium heat and place half of the meatballs in the pan. Press slightly on top of the meatballs so they get a bit flat instead of round. Fry for 6-7 minutes on each side. IMG_1430

Place in a 200F warm oven while frying the other half of the meatballs. Keep warm until serving.IMG_1431

Stewed Cabbage:

Cook the sliced cabbage in salted water 12 minutes. Transfer to a colander and let the water drip of.

Melt butter and sauté sliced onions until soft. Add the flour and whisk well until the butter has absorbed the flour and the roux is thick and shiny. IMG_1433

Slowly pour the milk into the roux while whisking. Be careful not to add to much milk at a time – the roux needs to keep cooking ALL the time and adding too much milk will slow down the process.

IMG_1434

Add the corn, season with salt and pepper and let cook at low heat for 5-10 minutes.  IMG_1435

Add the cooked cabbage and chopped chives a few minutes before serving and make sure that all cabbage gets turned in the sauce.IMG_1437

Serve the stewed cabbage together with the meatballs and cook potatoes 🙂IMG_1438

Bon Appétit!


Metric measures

Meatballs:

225 g minced pork

225 g minced veal

1 large onion, minced

1 egg

3 tbsp. oatmeal

0.6 dl milk

Salt & Pepper

2 tbsp. butter


Stewed Cabbage:

1/2 cabbage, thinly sliced

2-3 shallots, sliced

2.5 dl corn

2 tbsp. butter

2 tbsp. flour

7.5 dl milk

3 tbsp. chives, chopped

Salt & pepper

Yellow Tomato Sauce

The number of tomato varieties are HUGE and comes in several different colors and shapes. My (Ann) parents has been growing tomatoes as long as I can remember and my dad always wants to try new varieties. This year he decided to to the yellow pear tomato and he sowed several seeds hoping to get a plant or two – but unexpectedly they all grew and he ended up with 7 or 8 plant of this specific sort (and then came the 3 others sorts he sowed the year).

Some of the pants were given to family and friend (we got a plant to – the picture below) and then he kept the 3 plants himself. Having kept three plant himself means that one needs to be creative when cooking, if not having tomato salad every day 🙂

Last week there were an over float of tomatoes and my parents agreed that we should make try and make some yellow tomato sauce. Normally when we make tomato sauce we add red wine, but this would ruin both the taste and color of this sauce, so we decided to use chicken stock instead, which turned out to be the perfect match 🙂

IMG_0972

Ingredients (4 cups)

2 large onions, chopped

4 garlic cloves, chopped

2 tbsp. thyme leaves

1 tbsp. ground pepper

1 tbsp. butter

1-2 jalapeños, sliced

2 lb. yellow pear tomatoes, chopped

2 cups chicken stock

1 tbsp. salt

IMG_1309


Melt butter in a saucepan, add chopped onions, garlic, thyme and ground pepper. Sauté for a few minutes until the onions begins to soften – then add the chopped tomatoes and jalapeños.

Stir and let cook for about 5-8 minutes until the tomatoes gets soft.IMG_1312IMG_1314

When the tomatoes has softened, you can the chicken stock and bring to a boil. IMG_1315 IMG_1316

When boiling add salt and turn down the heat. Let simmer for approximately 2 hours or until it looks like the picture below. Stir occasionally.IMG_1318

Transfer the cooked tomatoes to blender and blend until smooth. Pour into sterilized jar, close immediately and fridge until use. Can be stored in the fridge for up to 4 weeks.IMG_1319 IMG_1321

Bon Appétit!

Ingredienser (1 liter)

2 large onions, chopped

4 garlic cloves, chopped

2 tbsp. thyme leaves

1 tbsp. ground pepper

1 tbsp. butter

1-2 jalapeños, sliced

900 g yellow pear tomatoes, chopped

1/2 liter chicken stock

1 tbsp. salt

Banana and Blackberry Muffins with Browned Butter Glaze

Bananas is one of those wired fruits which you either love or hate. I out household we hate them, but due to their high level of carbohydrates I alway eat one after my training pass. Sunday evening I realized that I had bought new bananas without eating the old ones first, so I decided to use the old ones for some kind of cake. I never bake anything containing bananas so I did not have any recipes and I therefore had to ask my Facebook friends and search the web, and in the end it ended up the with a combination of several recipes 🙂

If you are more into chocolate than blackberries, you can of cause change that part of the recipe, but if you do that, I would recommend that you chop the chocolate and fold it into the batter instead of placing it in the middle, like the blackberries.


Ingredients (12 muffins)

1/3 cup butter, melted

2 cups flour

1 tsp. baking powder

1/2 tsp. soda

1 pinch of salt

1/2 tsp. ground cinnamon

1/2 tsp. ground nutmeg

1/2 cup sugar

1 tsp. vanilla extract

1 tsp. honey

2 eggs

1/2 cup milk

2 large bananas, ripe

45 blackberries, fresh or frozen


Glaze:

1 stick butter

1/4 cup sugar


Place bananas in a bowl ans mash well. Set aside while preparing the rest.

Shift flour, baking powder, soda, salt cinnamon and nutmeg into a bowl. Add sugar and mix well. In a second bowl, with a folk, beat together eggs, vanilla extract, honey, butter and milk.

Add the bananas to the egg mixture and stir to combine. Pour the flour mixture into the egg mixture in three steps, folding gently between each.

IMG_1234 IMG_1235

Line standard muffins tins with paper liners. Fill each paper line with 1 tsp. of the banana batter. Then place 4 blackberries in the middle of the batter. Then add another tsp. of the batter. Make sure that the blackberries are fully covered with banana batter.

Bake at 375F for 20 minutes or until at toothpick comes out clean. Let rest in muffin tins for 5 minutes and then 5 minutes in a wire rack.

IMG_1236 IMG_1239

While cooling, melt the butter in a saucepan and let brown lightly (be careful not to burn). Transfer to a small bowl – same diameter as the muffins. Dip the top of the cupcakes in the browned butter and sprinkle with sugar.

Serve immediately with a cup of good quality coffee or hot chocolate 🙂

IMG_1241

Bon Appétit!

Ingredienser (12 cupcakes)

75 g smør, smeltet

250 gram hvedemel

1 tsk. bagepulver

1/2 tsk. natron

1 knivspids salt

1/2 tsk. stødt kanel

1/2 tsk. stødt muskatnød

115 gram sukker

1 tsk. vanilje ekstrakt

1 tsk. honning

2 store banner, modne

2 æg

1.25 dl mælk

Italian Casserole Bread

I spent last friday night home alone with a good movie and a glass of red wine. I am not that good at making dinner for one, so instead I decided to buy some cheese, a sausage and bake a bread with a good crust and with lots of flavor. I only searched the web for few minutes before finding this great recipe. It is without doubt one of the best bread recipes that I have ever tried, but have in mind that the bread should be eaten same day as baked, and preferably while still warm 🙂


Ingredients (1 bread)

Active yeast, size of a finger nail

8/10 cup water

1/2 cup beer

1 tbsp. vinegar

3 1/5 cup flour

1 tsp. salt

1 tsp. sugar


Day 1:

Add yeast, water, beer and vinegar to mixing bowl and stir to combine. Add the remaining ingredients and use our fingers to combine. Knead until just combined and the dough is still wet and lumpy.

Cover with plastic foil and leave on the kitchen table to raise for 12-18 hours (the longer, the better).

Day 2:

Cover your kitchen table with flour and pour the wet and raised dough out. Fold it together one from each side (= 4 times) and place it in a greased dish and cover with plastic foil and let raise in a warm place for two hours.

Put you casserole into a water bath one hour within the raising time if it is made of clay. Leave it covered in water for 10 minutes before placing it in a cold oven. Turn the oven on to convection at 430F or regular oven at 460F.

Take the hot casserole out of the oven when the two hour raising time is finished. Sprinkle the bottom of the casserole with flour, pour in the dough and sprinkle with flour again. Put on the lid and place the casserole in the oven and bake for 30 minutes. Then remove the lid, and turn down the heat to 400F/430F and bake for additional 15 minutes.

Remove the baked bread from the casserole and let rest on a wire rack for 15-20 minutes before serving.

IMG_1212

As you can see on the picture below, the bread is not as light as expected. This because I folded the dough twice from each side instead of only one as advised in the recipe. So be careful not to knead the dough or fold to to much, as it will remove the air bubbles and leave the finished bread more dense.IMG_1213

Bon Appétit!

Ingredienser (1 brød)

En lille klump gær, på størrelse med en lillefingernegl

2 dl vand

1 dl øl

1 spsk. eddike

400 g mel

1 tsk. salt

1 tsk. sukker

Chocolate Birthday Cake with Berries

Yesterday a friend of mine turned 30 and she asked if I could make her a cake. She did not have any preferences other than CHOCOLATE, so I went for a day wondering what to make. First I wanted to make a chocolate cake with strawberry mousse, but the strawberry season is long gone, meaning that the taste of the berries are gone. So instead I decided to make this chocolate cake covered in whipped cream with crushed chocolate meringue cookies. Making the cake made me totally peckish, but unfortunately we was unable to take part in her birthday – DAMN! But but but that only gives me a reason to make the cake once more 🙂


Ingredients (12 servings)

1/4 cup unsweetened cocoa powder

1 1/2 cups flour

1 1/8 cup sugar

1 tsp. baking powder

1 tsp. baking soda

1 tsp. salt

1 1/2 sticks butter

2 large eggs, room temperature

1 tbsp. vanilla extract

1 cup sour cream

1/2 cup dark quality chocolate (70%)


2 cups cream

2 cups chocolate meringue cookies, crushed

20 strawberries

20 raspberries

1/4 cup dark quality chocolate (70%), chopped


Melt butter and sugar in a sauce pan. Stir to combine. When melted and combined, transfer to a mixing bowl and whisk at medium speed until cooled (takes 5-10 minutes).

In another bowl mix together cocoa powder, flour, salt, baking powder and baking soda.

When the butter and sugar mixture is cooled, add one egg at a time and whisk between each. Then add vanilla extract.

Shift in flour mixture in four batches, alternating with the sour cream, and whisk until just combined. Add the melted chocolate and gently fold it into the batter with a rubber spatula.

Add the batter to a springform pan and bake at 350F for 45 minutes or until a toothpick comes out clean in the middle of the cake. Let cool for 20 minutes before loosening the edges of the cake with a butter knife (but do not remove in from the springform). Let cool completely before removing the cake from the springform pan.

Slice the cake into 3 equally thick pieces. I do not have a tool to do it with, so I just use a piece of wire, which works very well.

Whisk the cream until it gets soft peaks. Then whisk a little bit more, but be careful not to over whisk and turn it into butter! It just needs to be thick enough to cover the cake without running off. Add the crushed chocolate meringue cookies when the whipped cream has reached the wanted consistency. Fold until combined.

IMG_1182

Place the bottom of the three cake slices on a cake stand. Spread 1/2 cup of whipped cream onto the cake in an equally thick layer all the way around. Slice 10 strawberries and place them on top of the whipped cream. Sprinkle with half of the chopped chocolate. IMG_1183

Place the middle-slice of the cake on top and repeat the procedure, but replace the strawberries with half of the raspberries. Then top of the cake with the last slice.

IMG_1184

Cover with the remaining whipped cream and decorate with berries. Serve with a good cup of coffee 🙂

IMG_1187


Bon Appétit!


Ingredienser (12 stykker)

0.6 dl usødet kakaopulver

2.8 dl sukker

3.5 dl mel

1 tsk. bagepulver

1 tsk. natron

1 tsk. salt

172 g smør

2 store æg, stue temperatur

1 spsk vanille ekstrakt

2.5 dl creme fraiche

75 g mørk kvalitets chokolade (70%), smeltet


0.5 liter piskefløde

5 dl rutebiler, knuste

20 jordbær

20 hindbær

0.6 dl mørk kvalitets chokolade (70%), hakket


God fornøjelse venner 🙂

Gnocchi and Meatball with Gorgonzola Tomato Sauce

Last week we made this fabulous dinner and we are definitely going to make it again – soon 🙂

The meatballs are greek inspired with the feta cheese and olives and it fits very well with the gorgonzola sauce and the gnocchi. It was our first time serving gnocchi’s and as with everything else we needed to taste and feel how they are supposed to taste and feel before making them ourselves. So next time, we will try making them ourselves and hopefully be able to make a post on it from our first attempt 🙂


Ingredients (4 servings)

1 lb. grounded pork

1 large onion, chopped

2 garlic cloves, minced

1/2 cup bread crumbs

1 egg

1/3 cup feta cheese, crumbled

10 olives, pitted and chopped

3 sun dried tomatoes, chopped

1/8 cup basil leaves, chopped

Salt and pepper

1 tbsp. butter


3 cup tomato sauce

2-4 tbsp. gorgonzola

Salt


2 lb. gnocchi

2 tbsp. pesto

Basil leaves

Parmesan cheese, grated

IMG_1063

Place pork, onion, garlic, bread crumbs, egg, feta cheese, sun dried tomatoes and basil in a mixing bowl and stir to combine. Season with salt and pepper, cover with plastic foil and fridge for 30 minutes.

Form the meat into small balls – the size of a golf ball, and fry in melted butter on a medium/hot pan – one minute on each side. Transfer the meatballs to a heat proof dish, cover with one cup of tomato sauce and bake in the oven for 20 minutes at 350F.

IMG_1049


Approximately 10 minutes before the meatballs are finished, you can begin to heat the tomato sauce (if it is pre-made) and cook the gnocchi.

Place the remaining 2 cups tomato sauce in a saucepan and warm at medium/low heat for 5 minutes. Add the gorgonzola, let it melt, stir to combine and keep warm until serving (low heat). Season with salt.

Cook the gnocchi as described on the back of the package (most descriptions says 3 minutes in salted water). Transfer to colander and let all  water drip off. Place the cooked and drained gnocchi into the heated tomato sauce.

Take the meatballs out of the oven and stir a few times to combine the sauce around the meatballs.

Place gnocchi with tomato sauce in a soup plate. Place 3-4 meatballs on top of the gnocchi and decorate with basil leaves, grated parmesan cheese and pesto.

Serve with a glass of your favorite red wine 🙂

IMG_1068


Bon Appétit!

Ingredients (4 servings)

450 g hakket svinekød

1 stort løg, hakket

2 fed hvidløg, presset

1,2 dl brødkrummer/rasp

1 æg

0,8 dl feta ost, smuldret

10 oliven, udstenet og hakket

3 soltørrede tomater, hakket

3 spsk. basilikum blade, hakkede

Salt og peber

1 spsk. smør


7 dl tomat sauce

2-4 spsk. gorgonzola

Salt


900 g gnocchi

2 spsk. pesto

Basilikum blade

Parmesan ost, revet


God fornøjelse venner 🙂